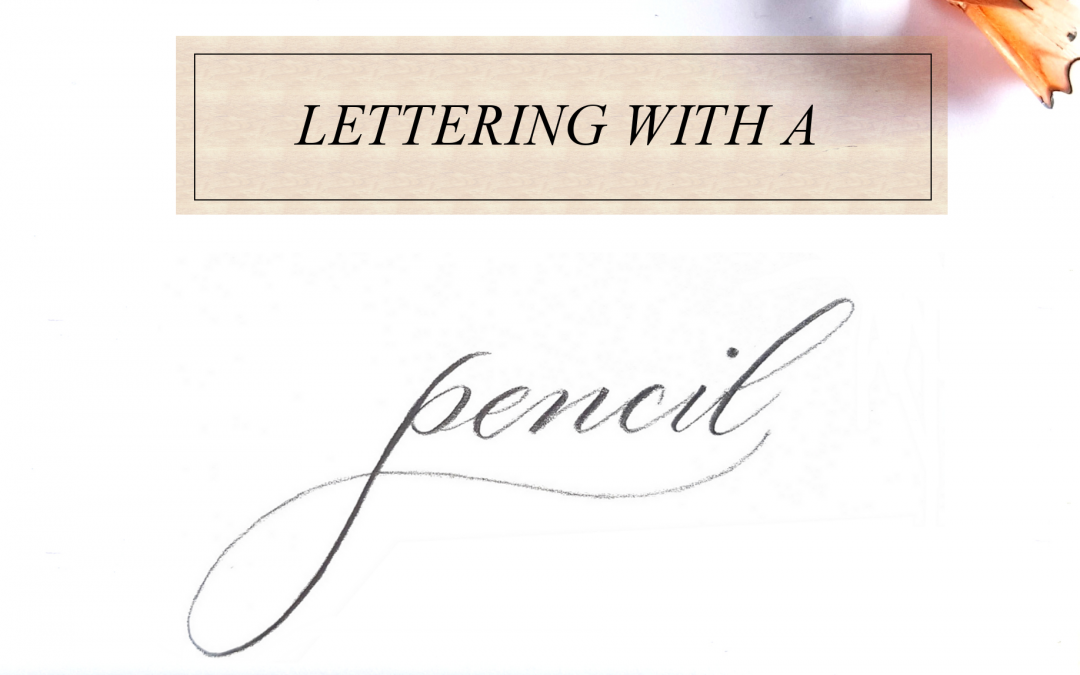
Practicing letter connections and spacing within a word will up your brush lettering game. You don’t always need to use your brush pens to improve. Grab the one thing I’m sure you have laying around somewhere in the house – a pencil!
Using a pencil will help build your muscle memory of how the letters look (practice the alphabet!), letter connections and letter spacing and you can use it to sketch out a piece and play around with the layout.
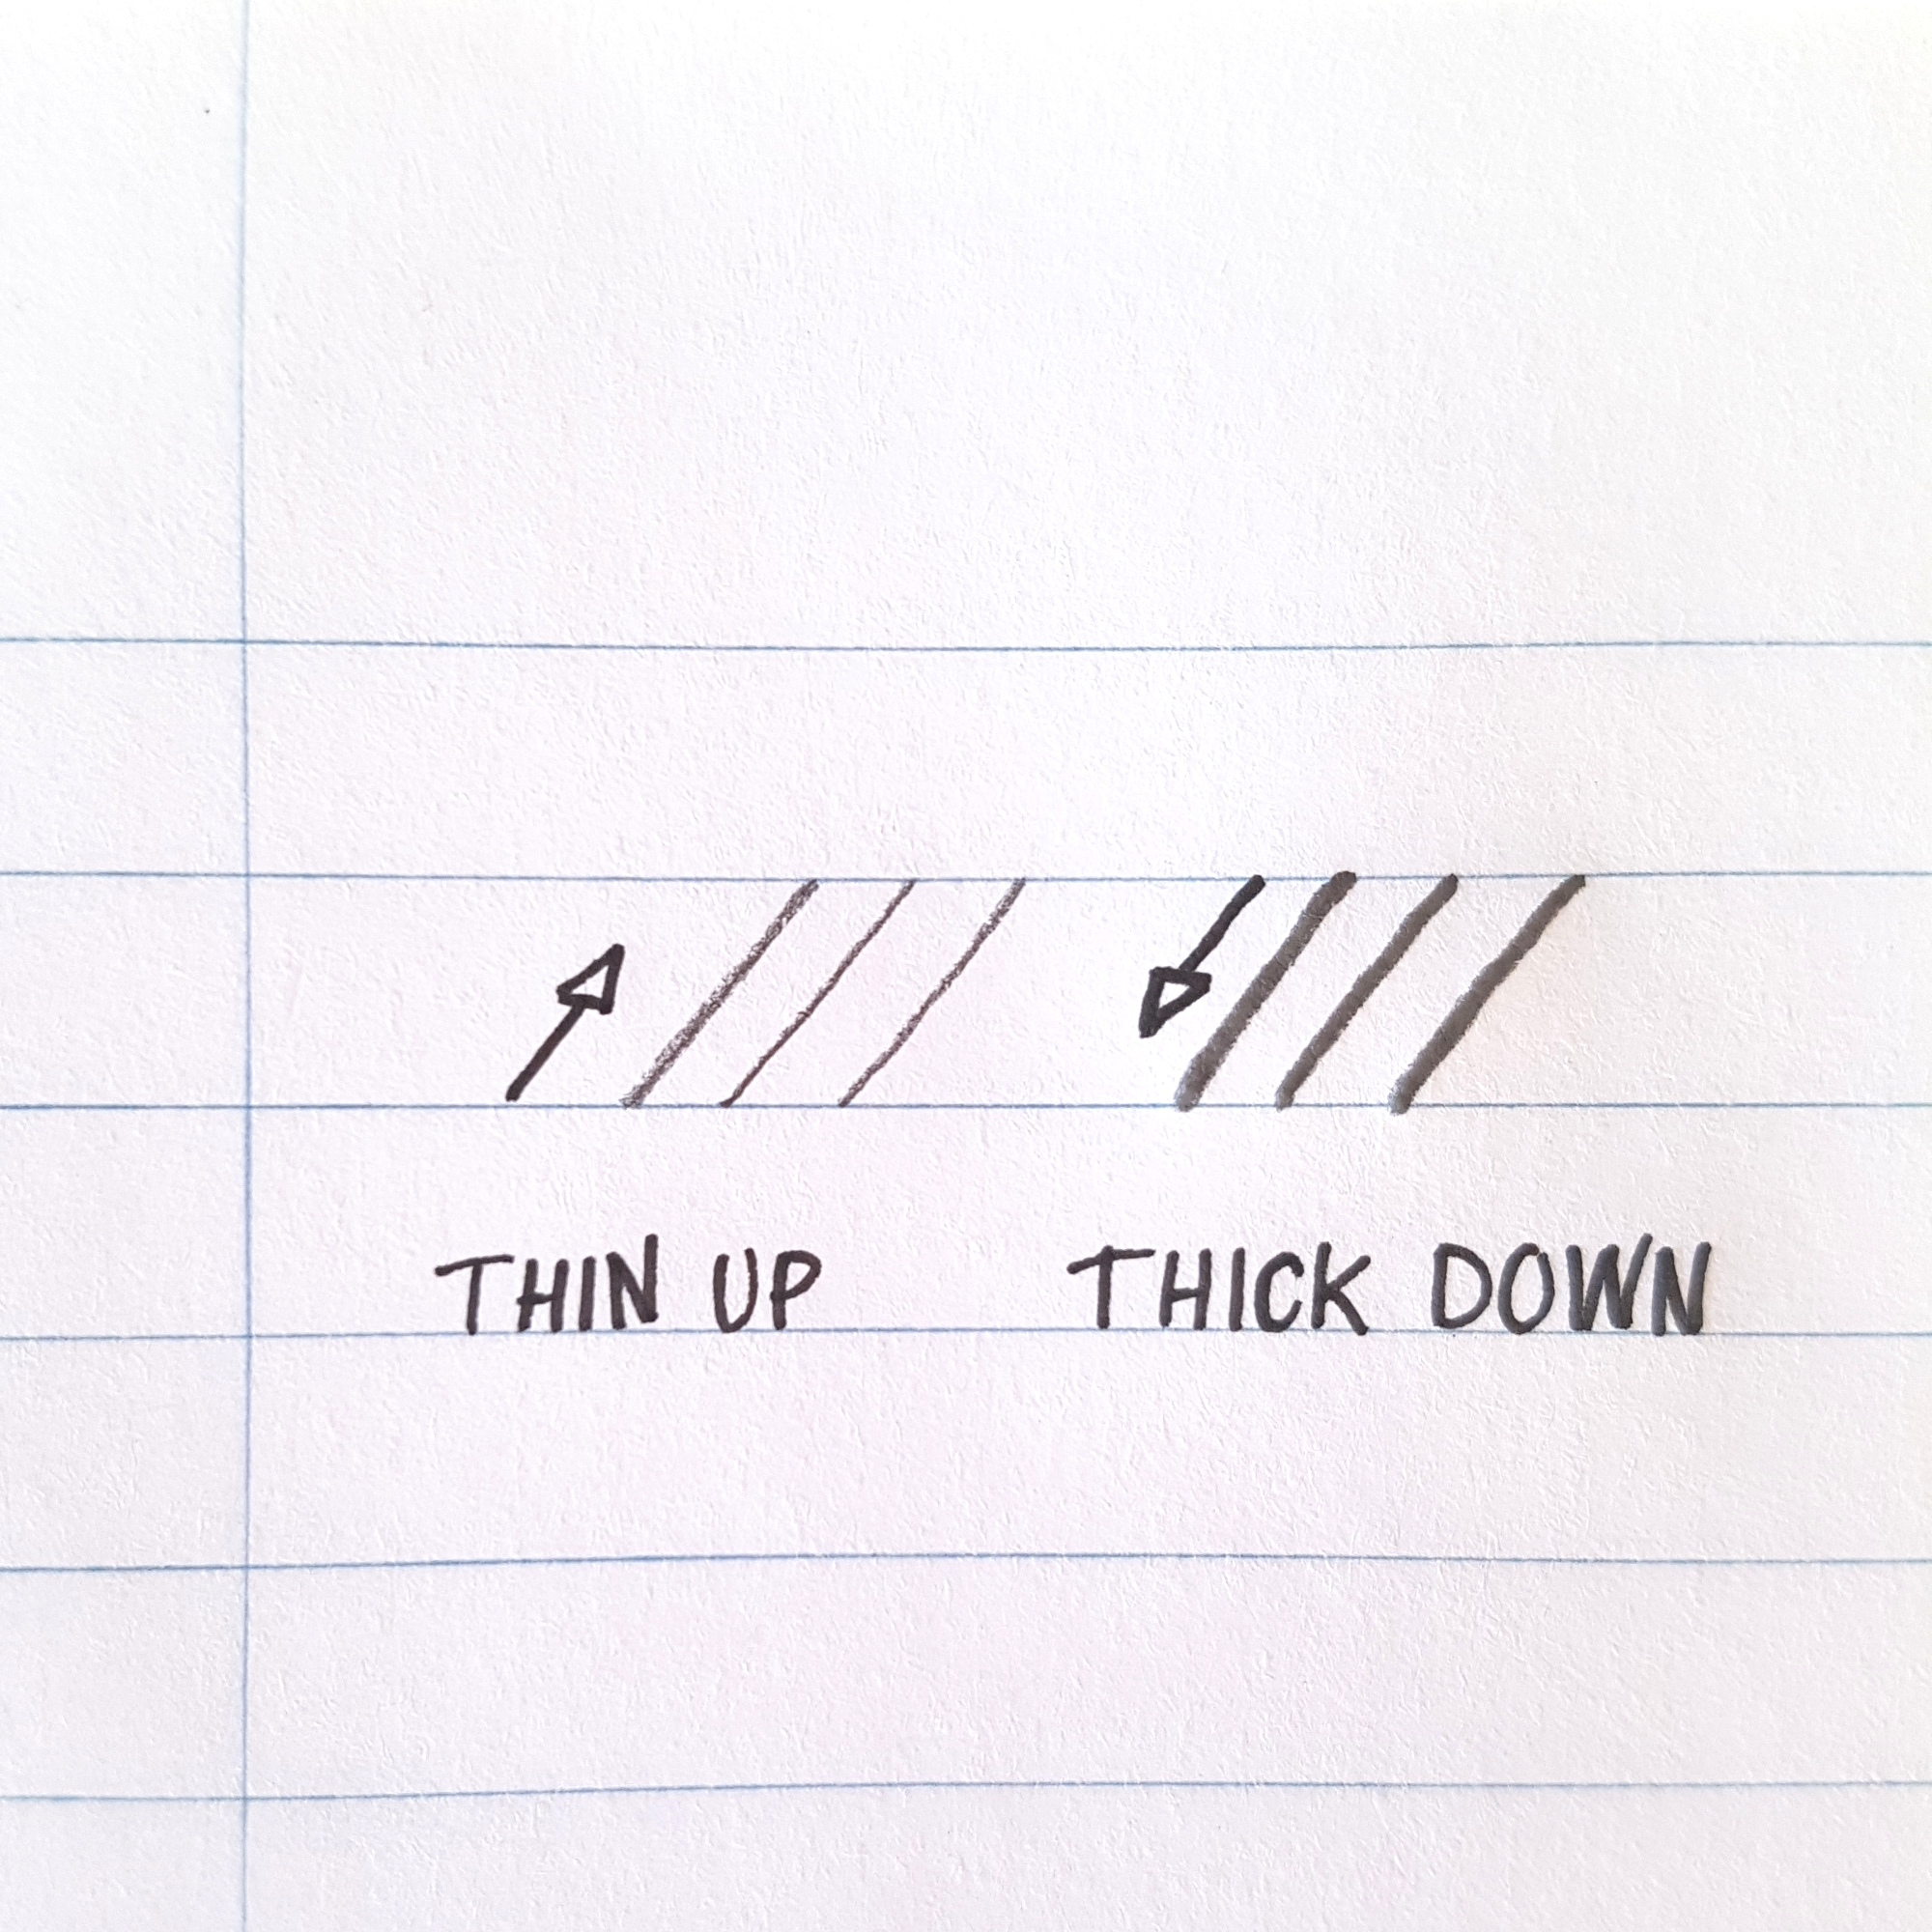
Heavy and Light Pressure
Just to get the feel for pressure variation in your strokes, practice drawing thin lines by moving your pencil up and then put heavy pressure on the pencil on your lines down. This is just like making thin upstrokes and thick downstrokes with a brush pen, but with a pencil the difference between the width of the strokes won’t be as pronounced.
Letter connections and spacing
Getting that expensive smooth paper out and finishing a brush lettered quote using exclusive brush pens and noticing that it just doesn’t look like it’s supposed to when you take a step back and look at the whole piece. Even if the individual letters in your words are perfectly lettered, the spacing between them and the connections will give the finished piece an attractive polished look. By using a pencil you can practice lettering words and then look at the spacing and how well you’re letters are connected to each other. Let’s examine the images below as an example. The first image to the far left is a word with proper letter connections and spacing compared to the other two images where the second image the letters e and b are too close together. In the last image (at the far right) the letter a at the end of the word is too close to the r. Your eye perceives the word as cluttered even though your individual letters look great.
Pencil sketches
The greatest advantage in my opinion of using a pencil is sketching your lettering in advance before adding ink. You’ll love the freedom of being able to erase your mistakes and redoing lines without having to recycle a big pile of papers with lettering. Once you’re happy with the layout of your pencil sketch, add ink with a brush pen and erase the pencil lines once the ink dries. Or if you don’t want any pencil lines on your finished piece, grab a new piece of paper and trace your pencil sketch or just use it as a reference. Faux calligraphy lends itself great with pencil too, see the image below. Check this post to see how to create faux calligraphy.
Remember…
- You can achieve calligraphy effect with pencil too by varying the pressure when writing. Light pressure on upstrokes and heavy pressure on downstrokes.
- Build your muscle memory with pencil, be attentive to letter spacing and connections .
- Use pencil to sketch your artwork, gives more room for mistake before adding ink.
What do you feel is the best thing about using a pencil? How often do you use it for brush lettering?
Let me know in the comments below! And if you want to show me how you you use these tips use #showandtellrim on Instagram. Talk to you soon!